English
- English
- Français
- Português
- Deutsch
- Italiano
- Polski
APP2.0
(EU)
QUICK GUIDE
QUICK GUIDE
Getting Started

- Getting Started
- Basic Framework
- System Dashboard
- Essential Operation Setting
- Statistical Analysis
- Inverter Dashboard
- Battery Dashboard
- EV Charger Dashboard
- Me Dashboard
- Microinverter
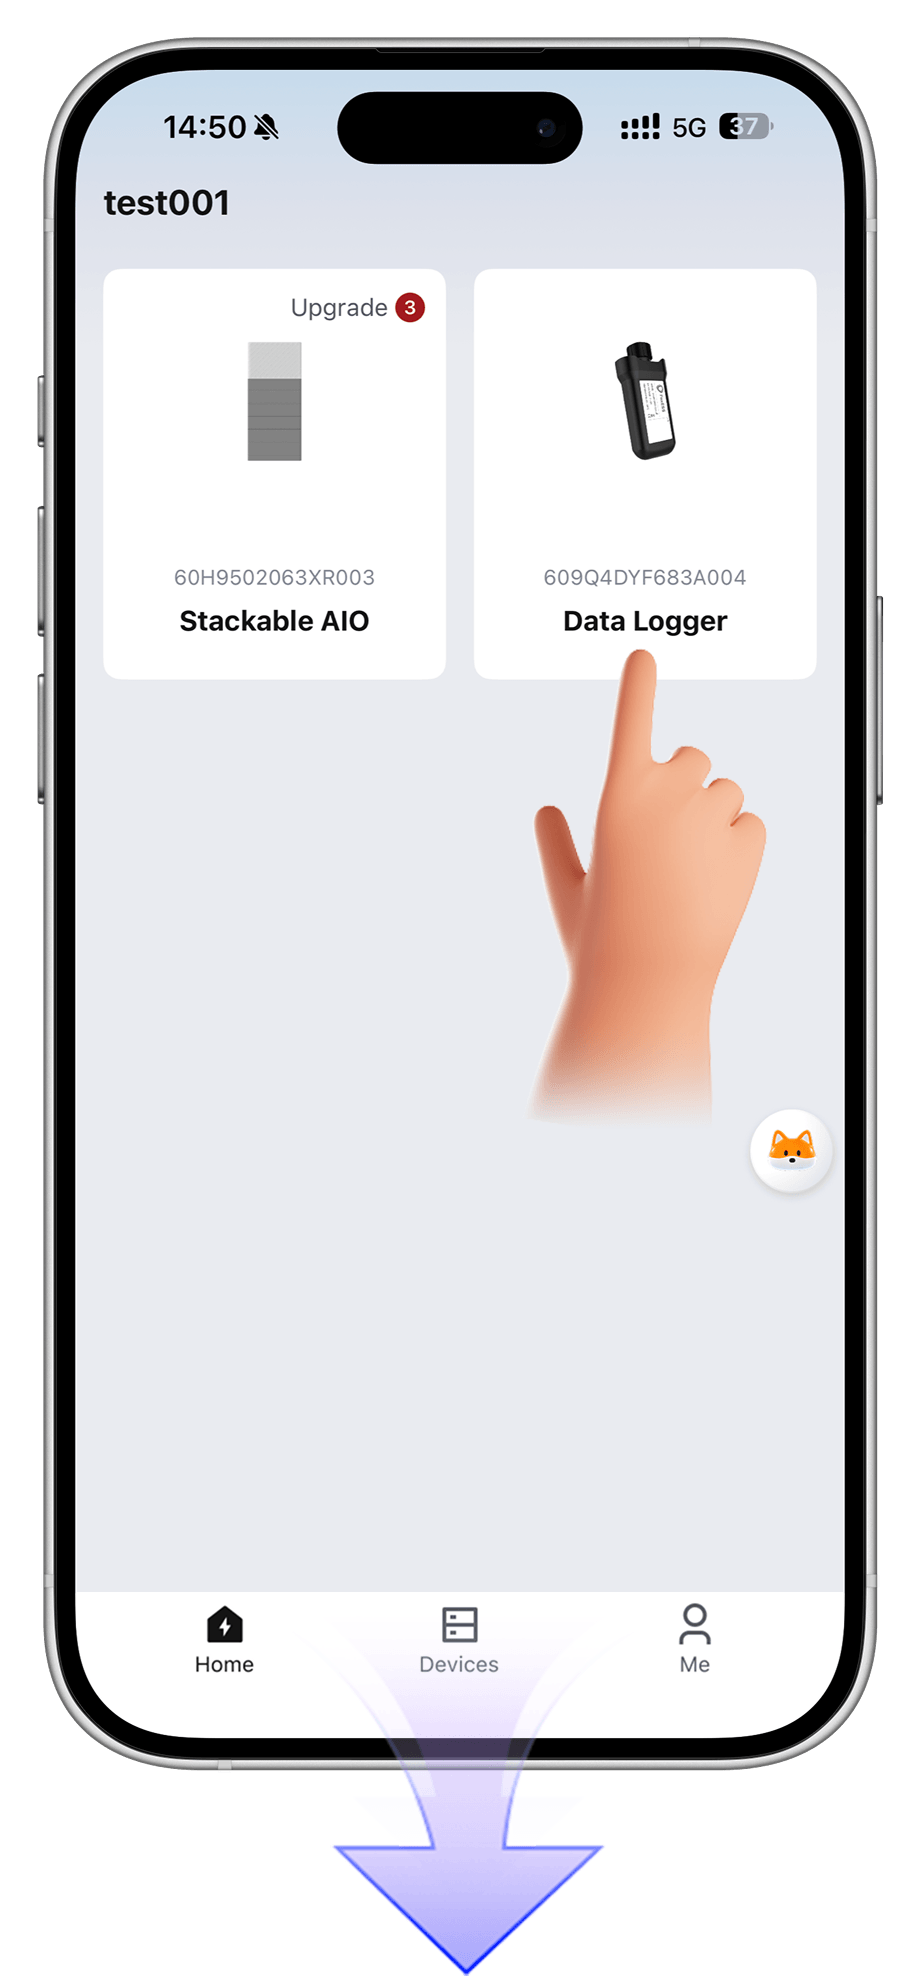
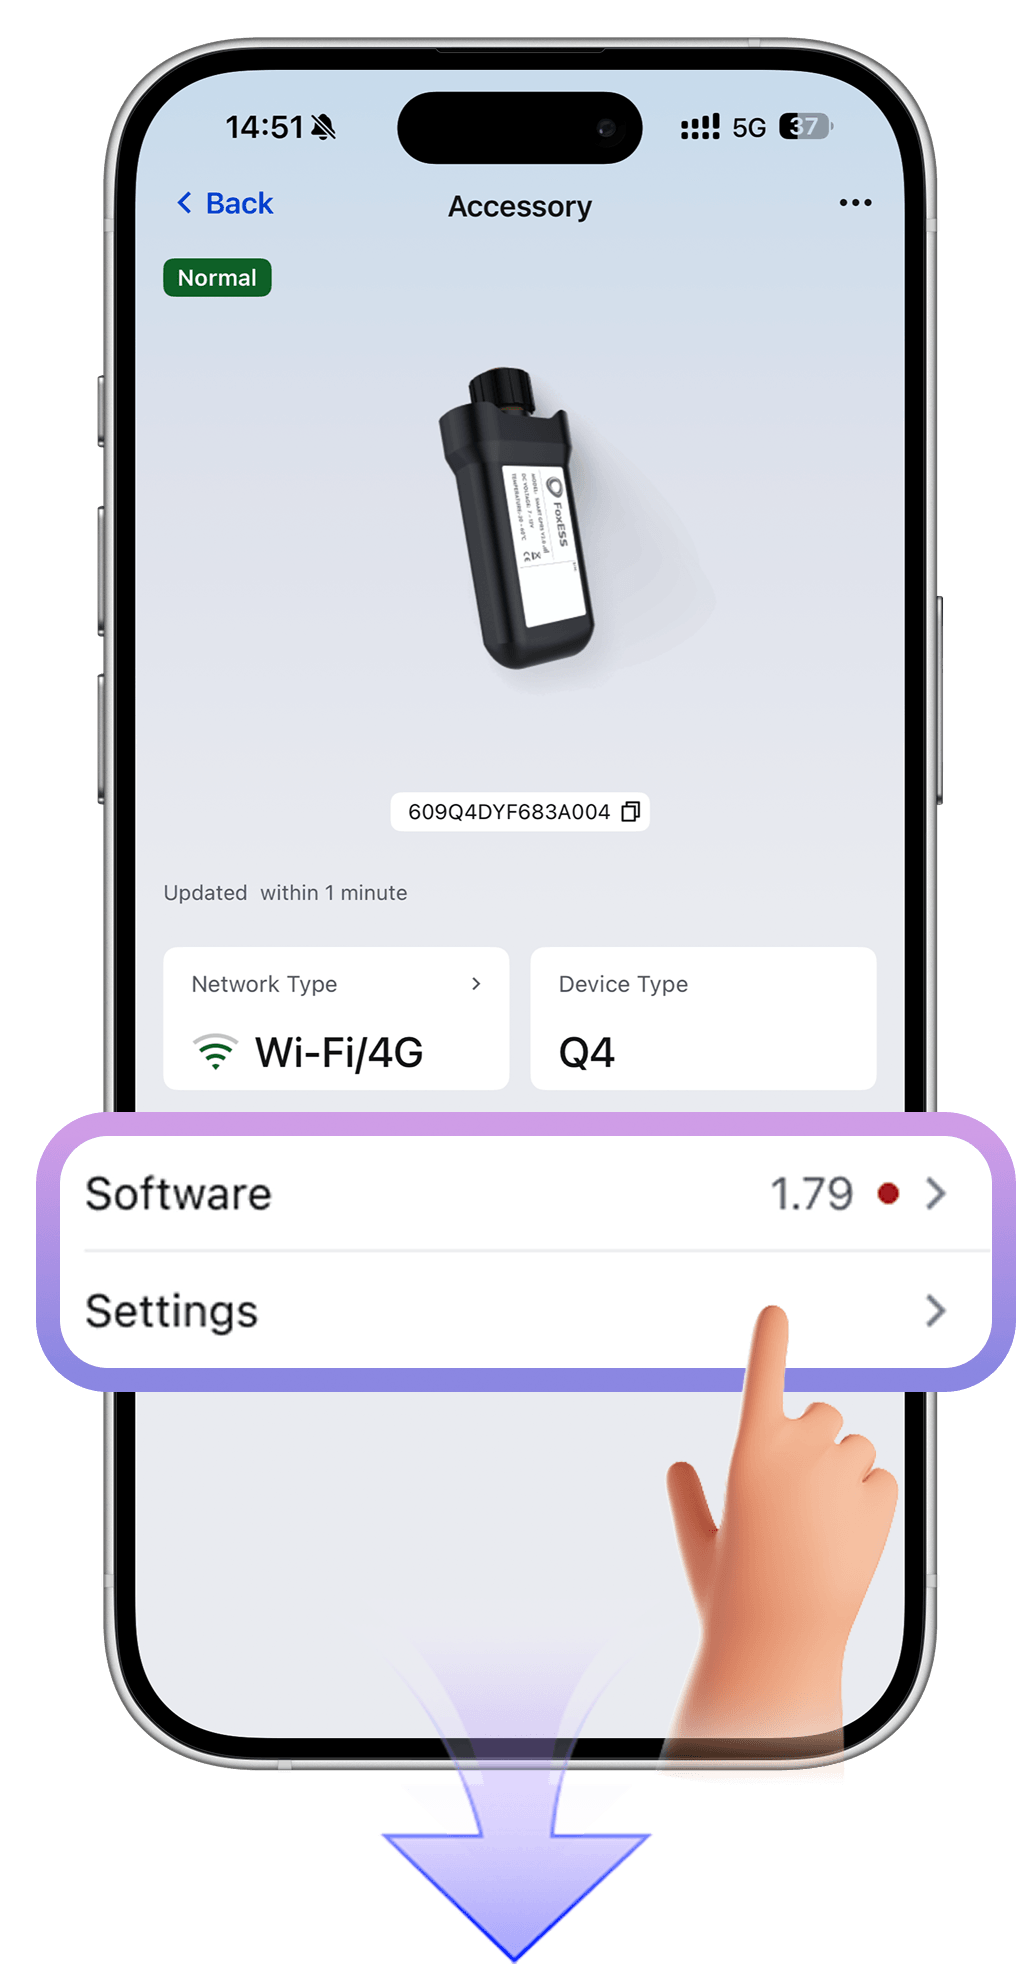
- APN Setup Guide
 DownLoad
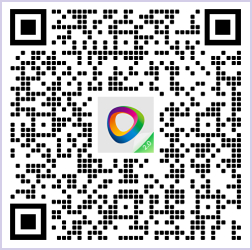
Download the FoxCloud 2.0 APP for your operating system


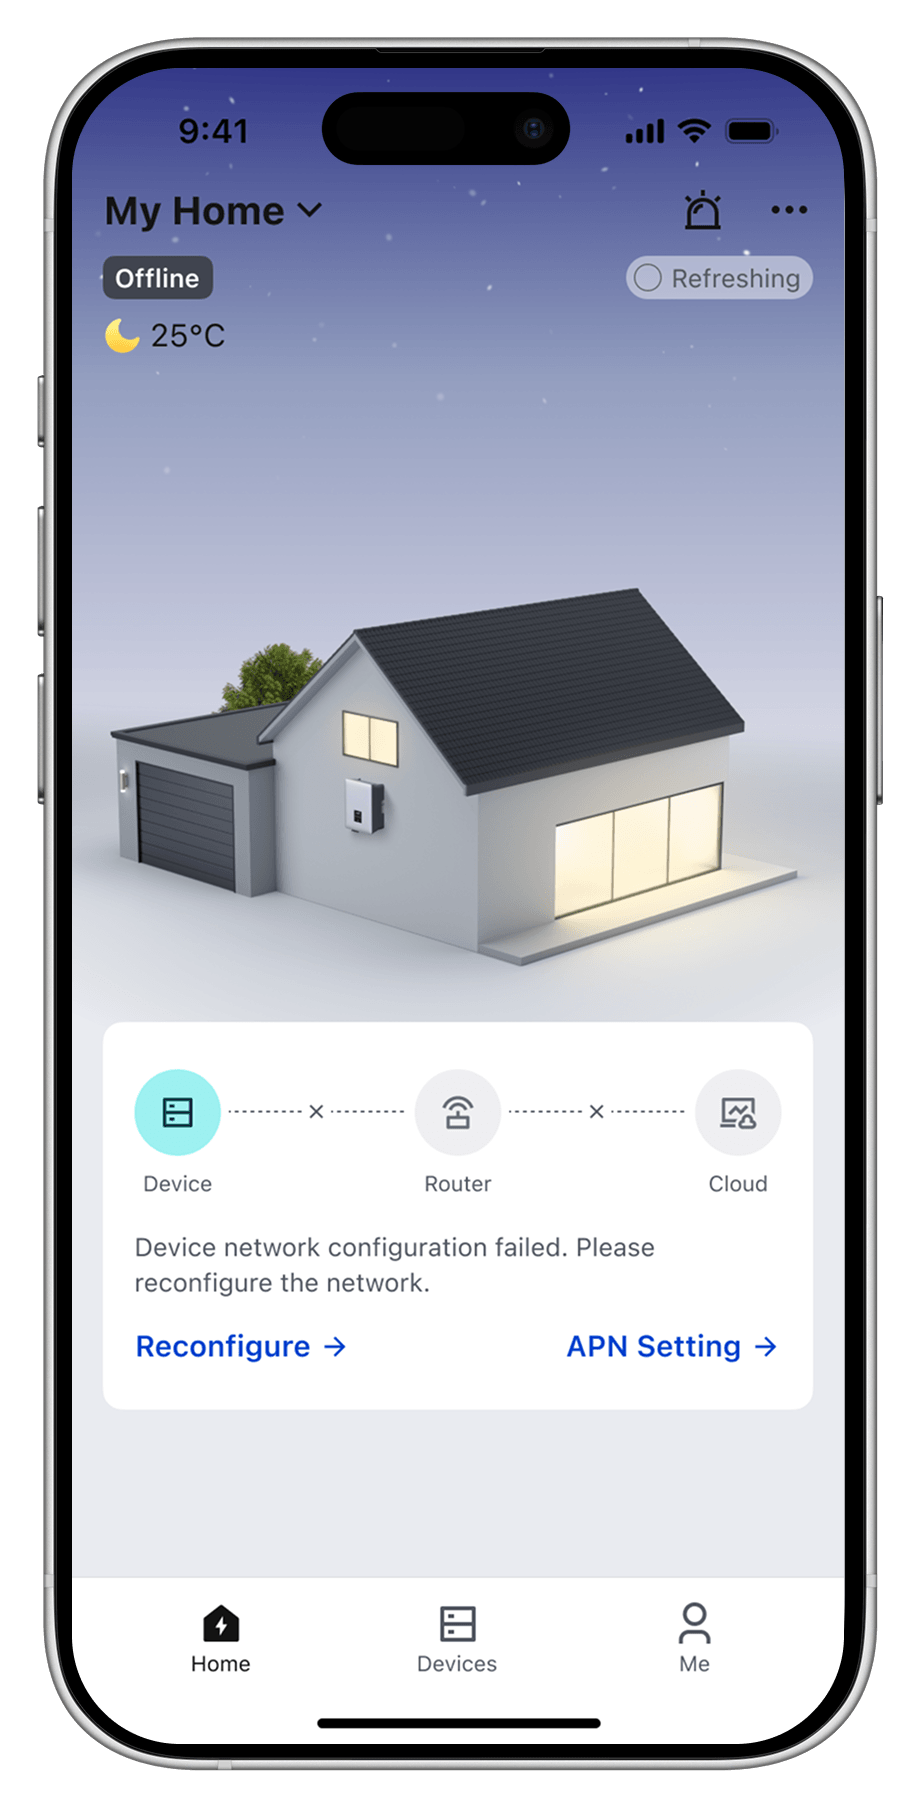
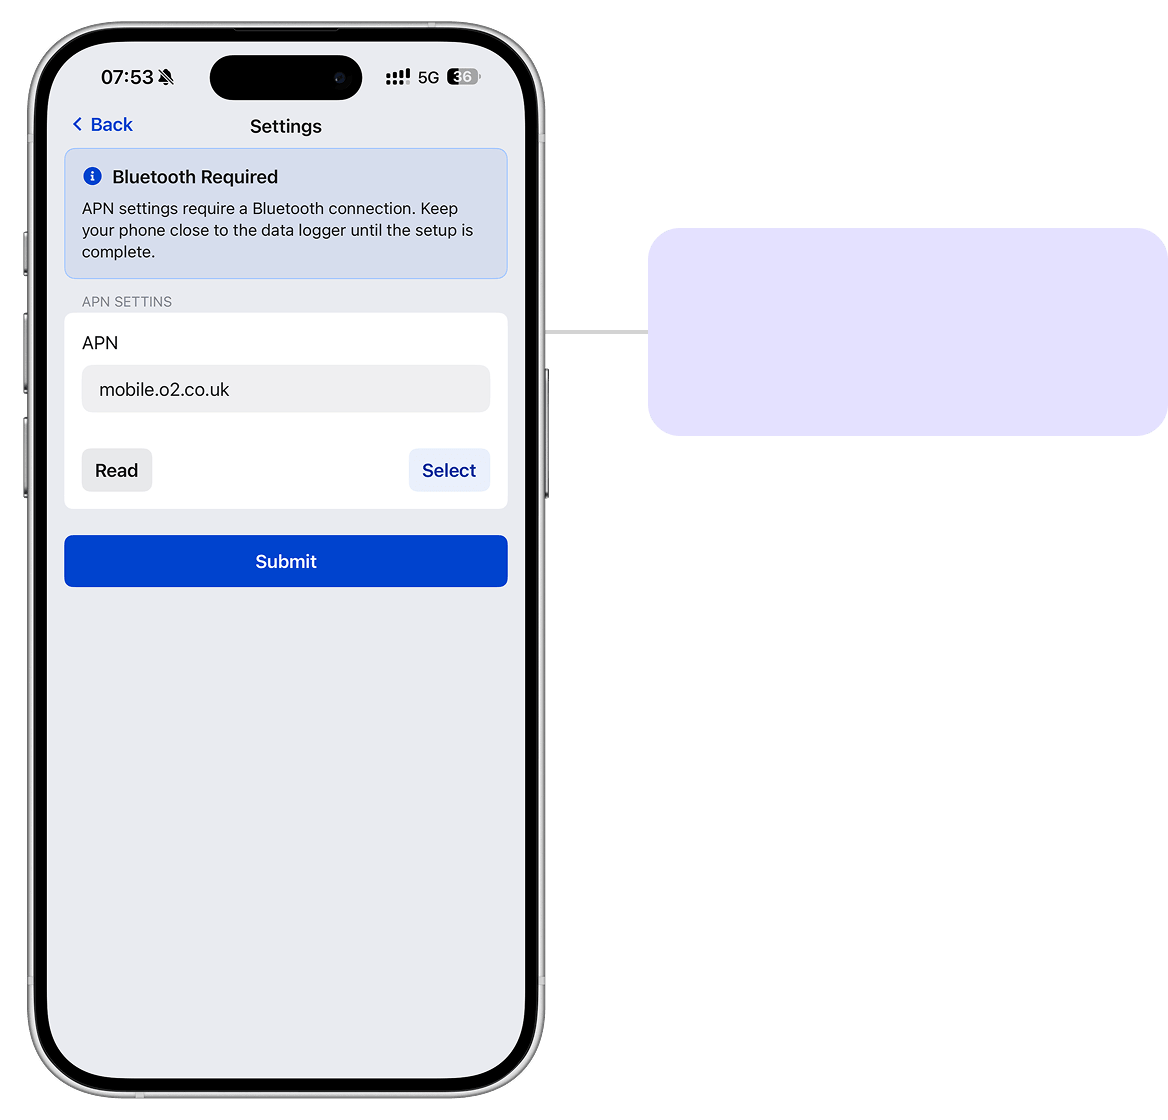
If your data logger uses
a 4G network but cannot connect to
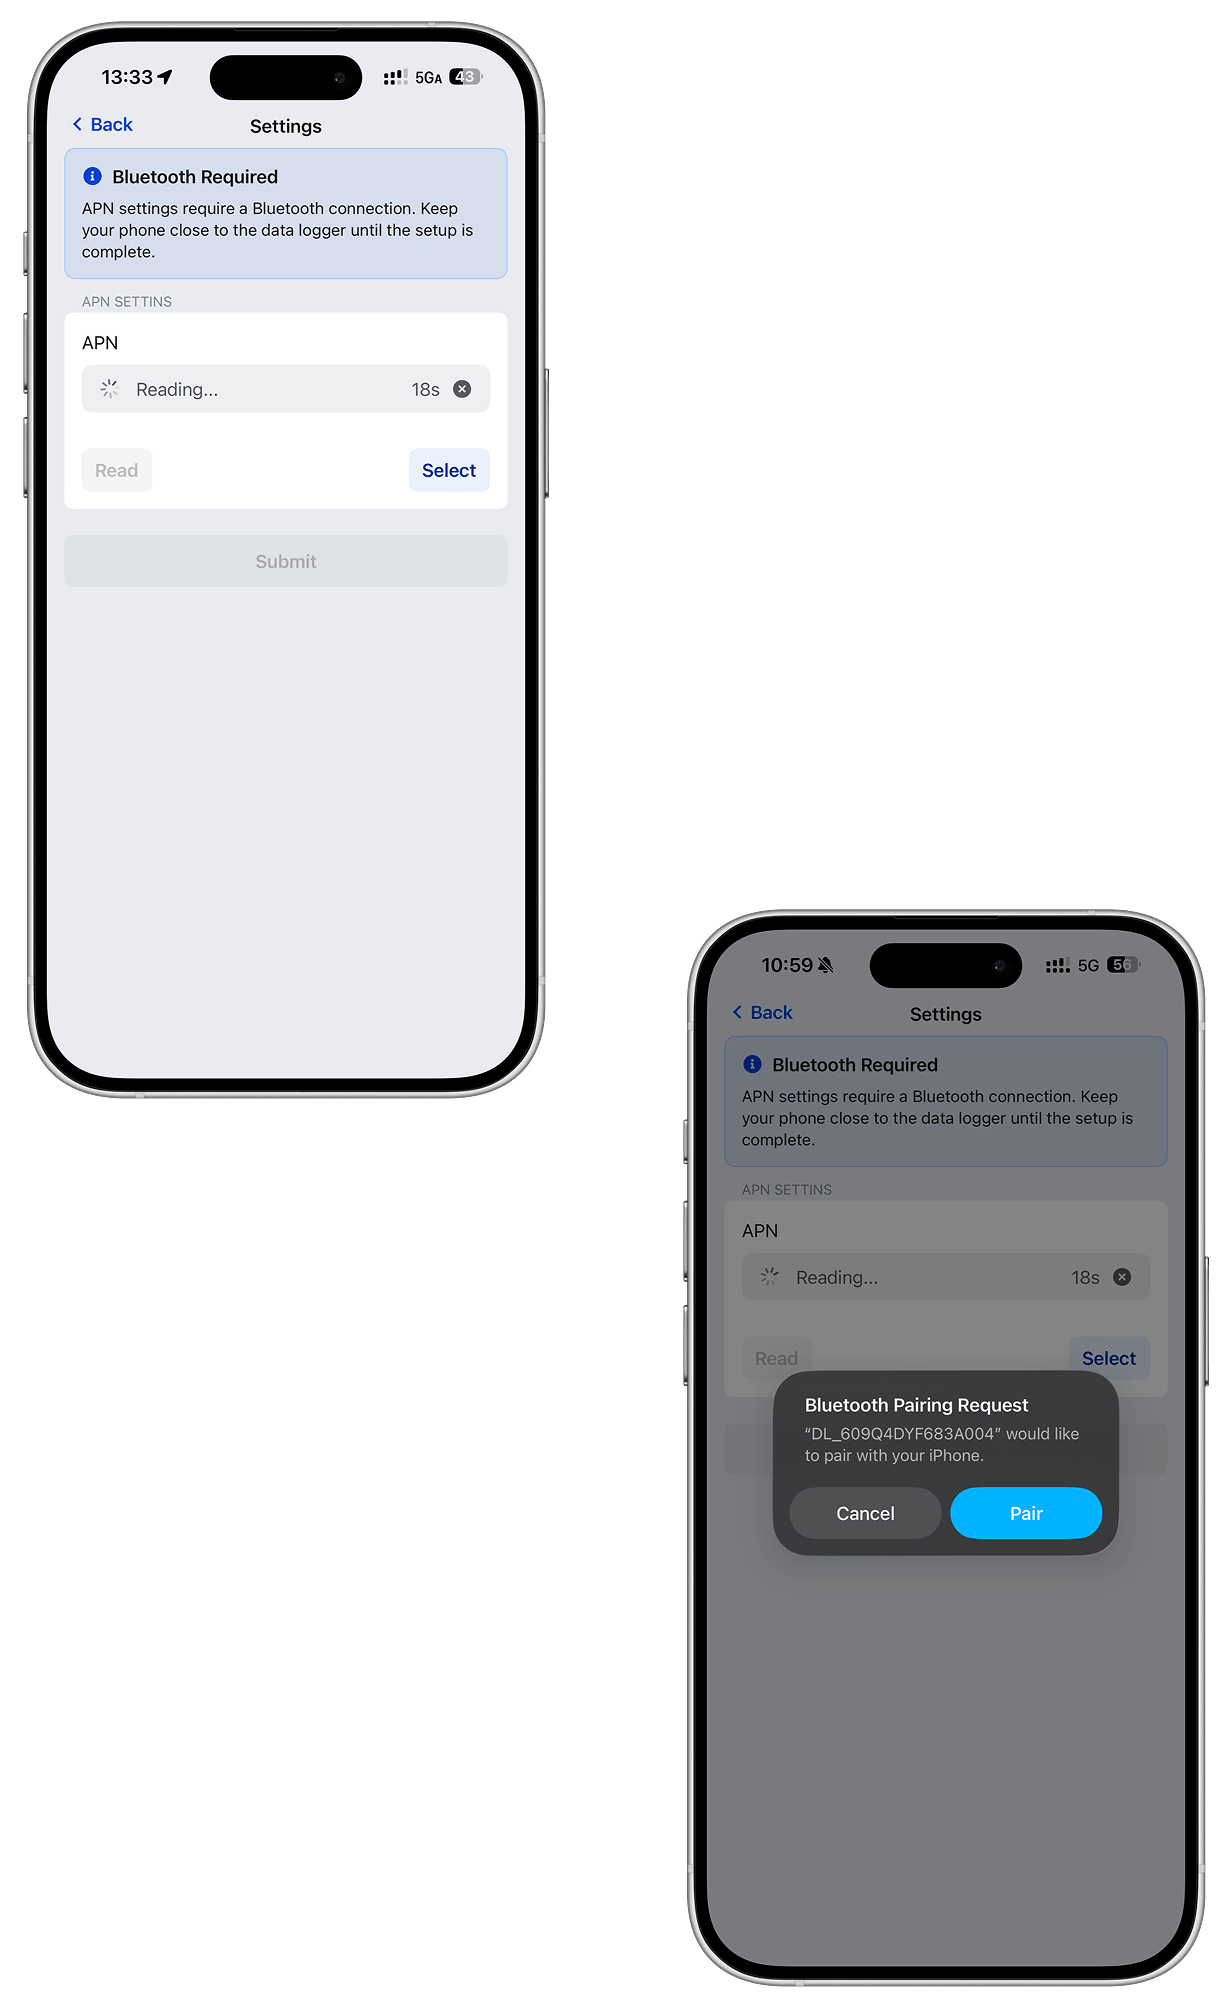
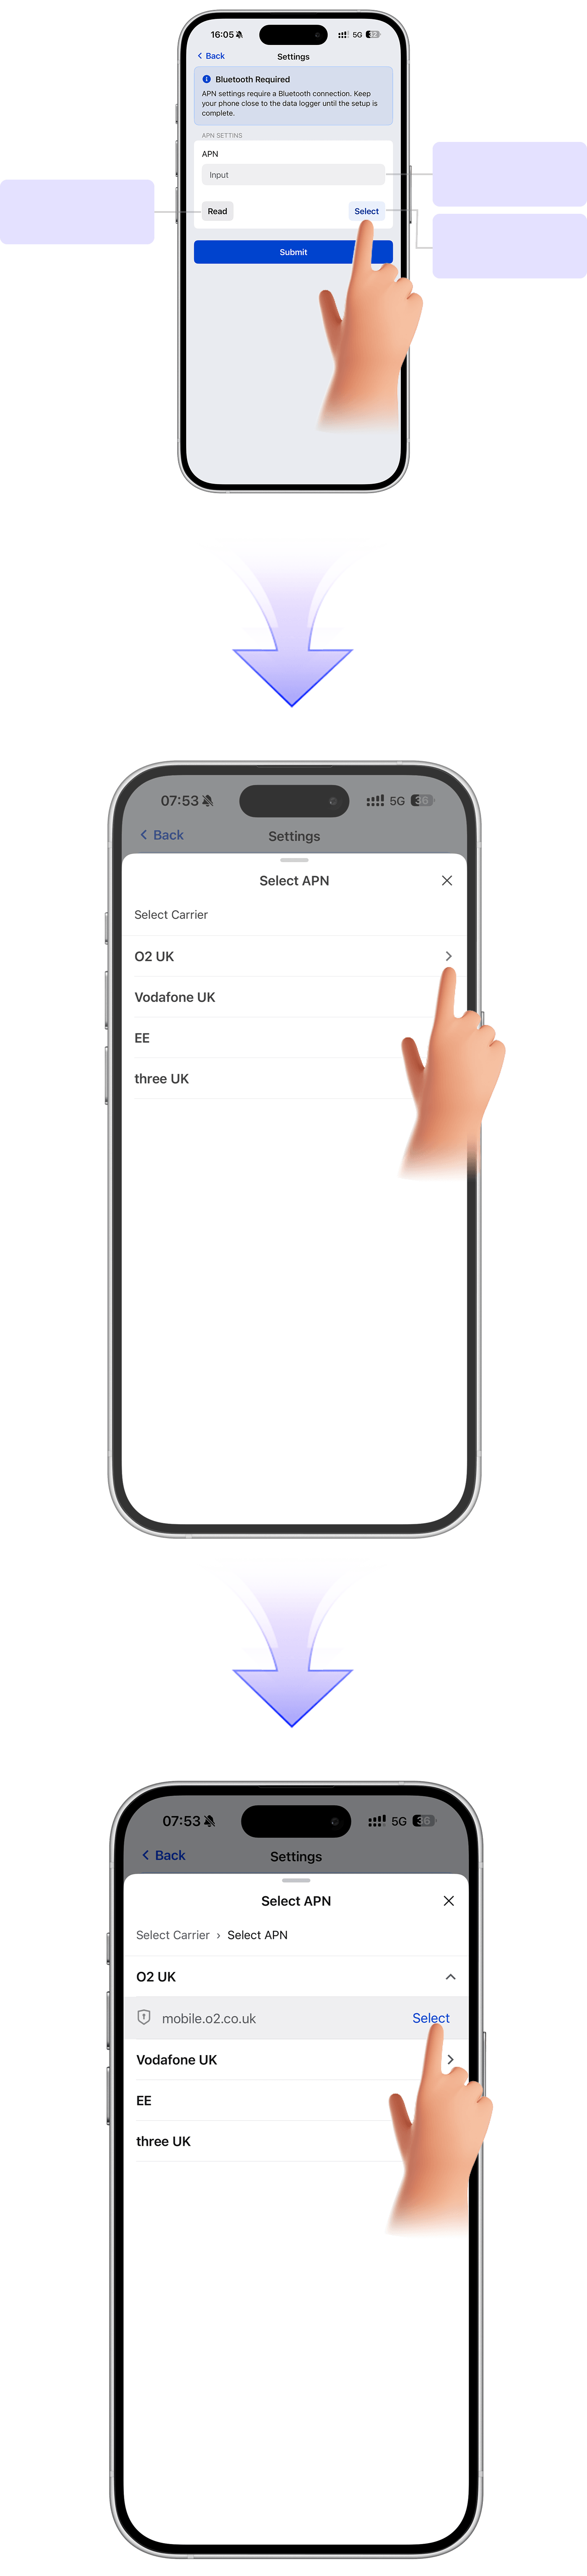
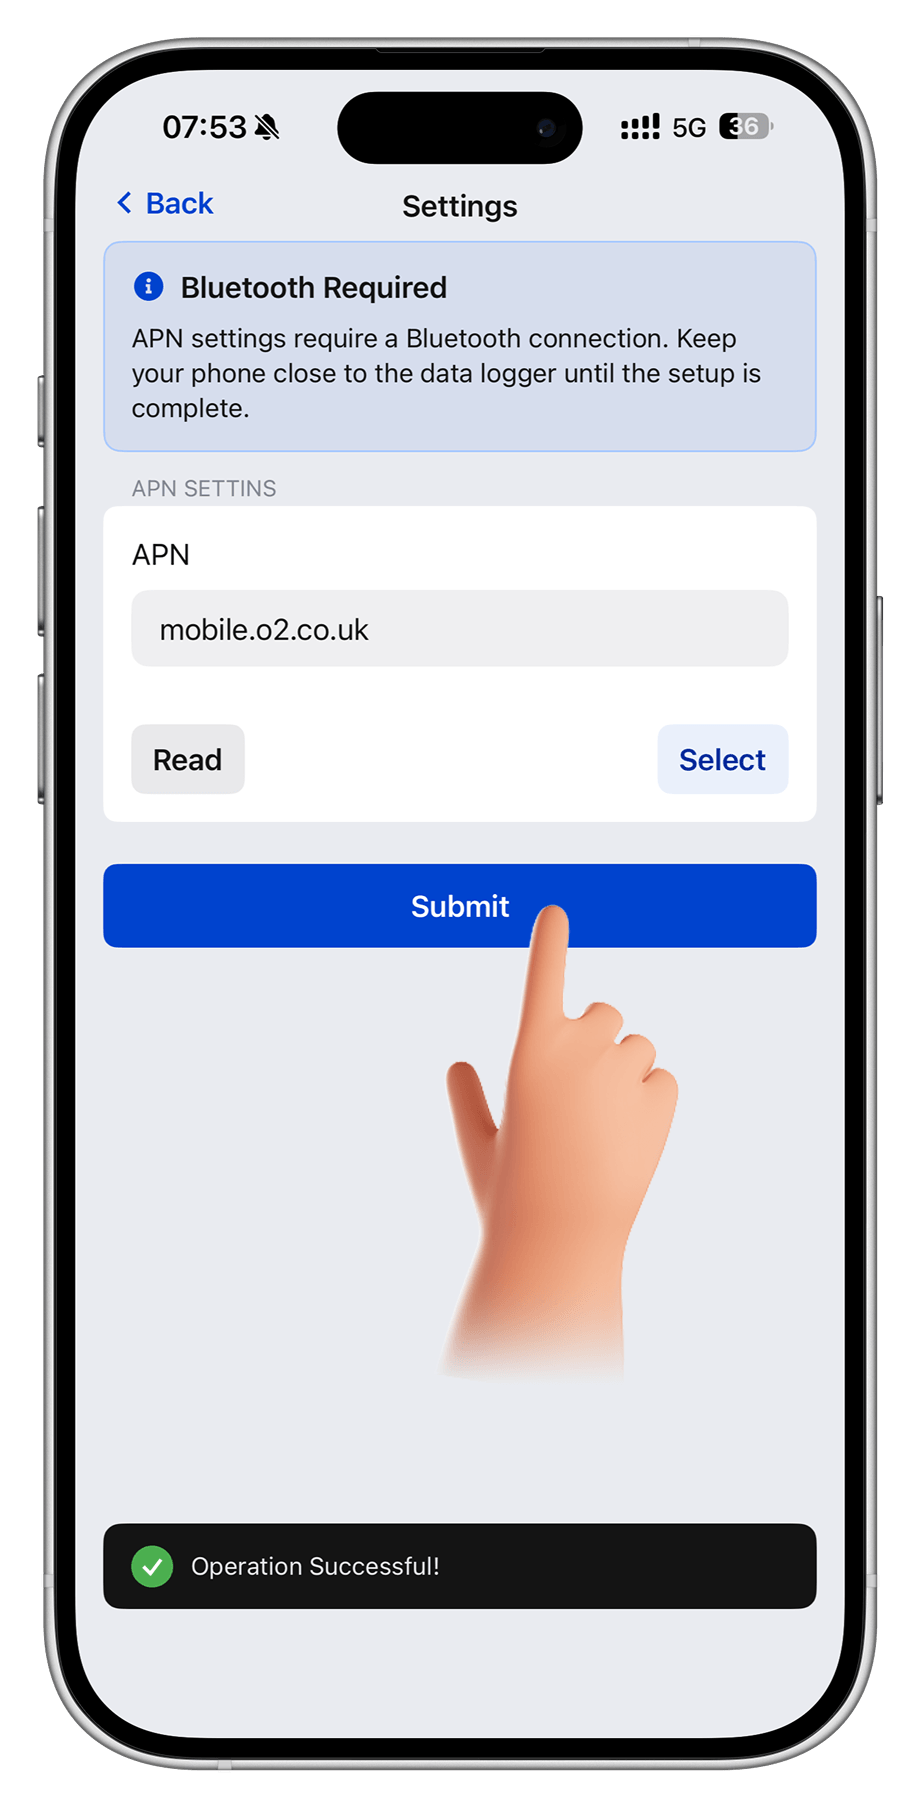
the network, you may need to configure the APN. Follow the steps
below to complete the APN setup.
Note:
Before you start, make sure Bluetooth is turned on and keep your
phone close to the data logger.
Register an Account
Step-1 :
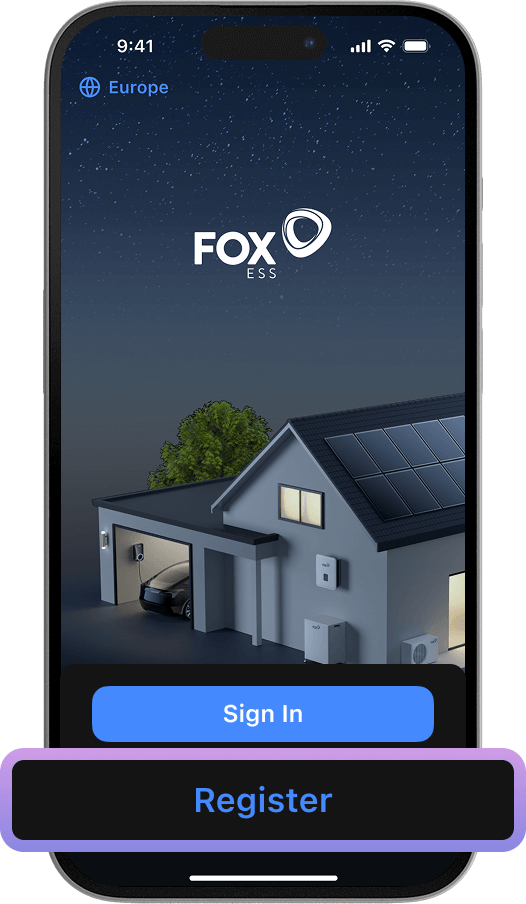
Open FoxCloud 2.0 APP and click "Register".
Step-2 :
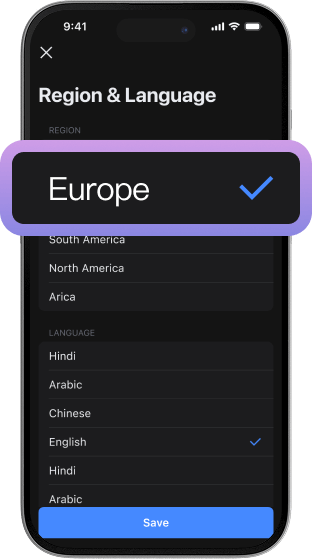
Select your region and language.
Select your region and language.
Step-3 :
Read Privacy Policy and Terms and Conditions and click "Agree & Continue".
Read Privacy Policy and Terms and Conditions and click "Agree & Continue".
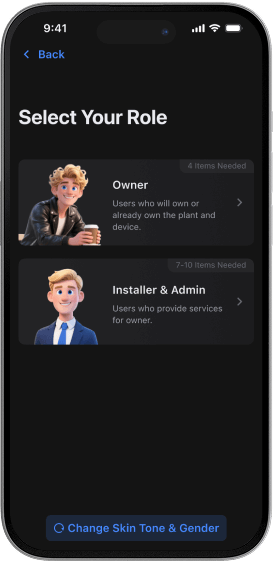
Step-4 :
Select the role that matches your responsibilities.
For a new end user, select "Owner".
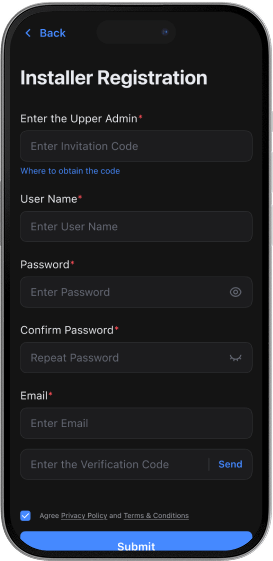
Step-5 :
Fill in the required information and click "Submit" to complete registration.
Fill in the required information and click "Submit" to complete registration.
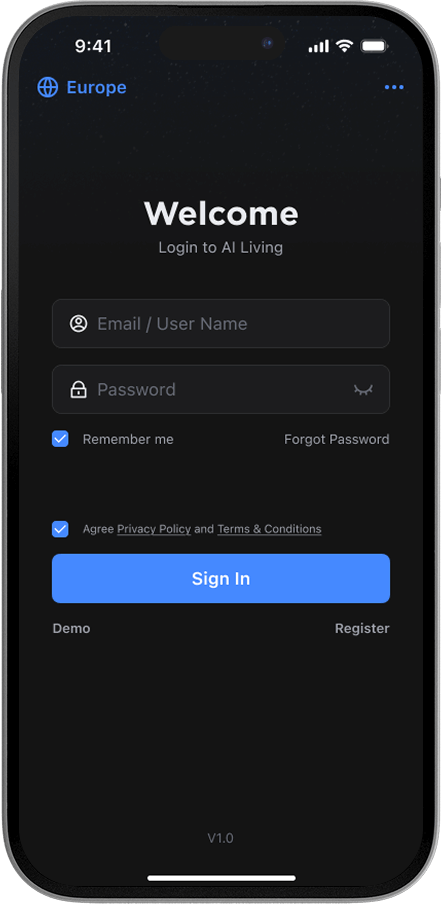
Sign In
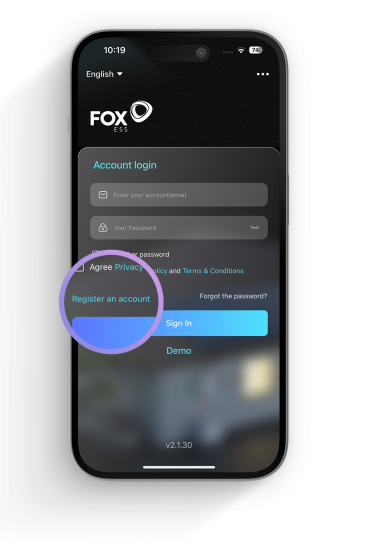
Enter your email or username and password, and click
privacy agreement to sign in.
If you have just completed registration, the system will automatically fill in your account credentials and accept the privacy policy.
If you have just completed registration, the system will automatically fill in your account credentials and accept the privacy policy.
 Add Devices
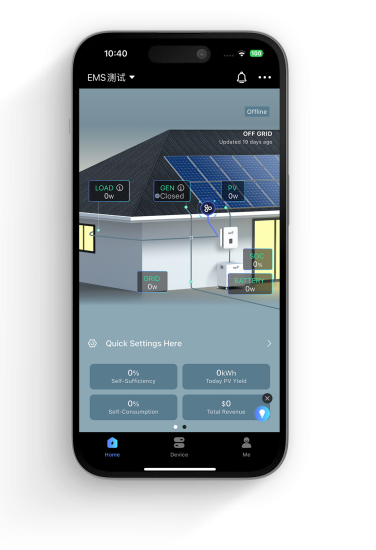
Step-1 : Click "Add Devices"
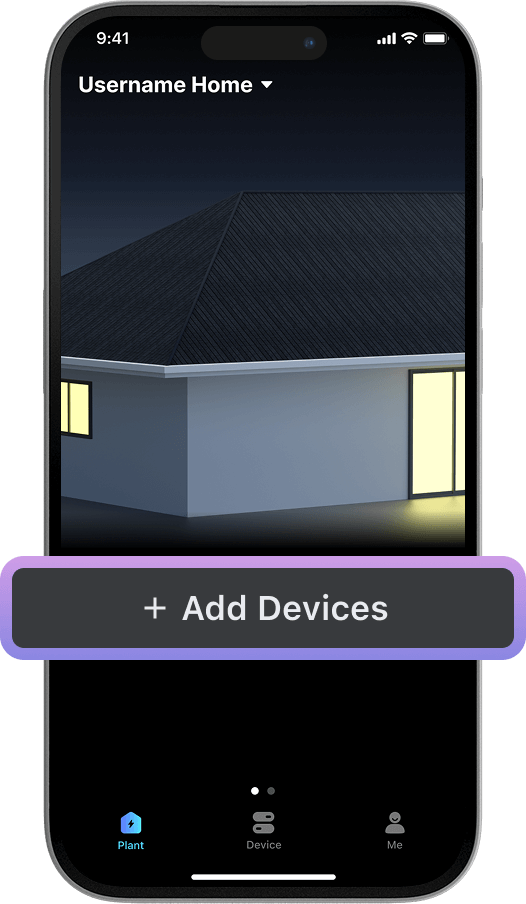
The system will automatically create a plant for end
users named "[Username]'s Home". Users only need to add
their devices.
Step-2 :
Wait for the system to search for devices
You can also scan the QR code on your device or enter the SN manually.
Wait for the system to search for devices
You can also scan the QR code on your device or enter the SN manually.
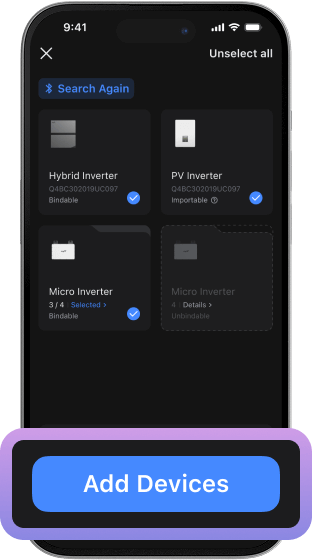
Step-3 :
Once the search is complete, click "Add Devices".
Once the search is complete, click "Add Devices".
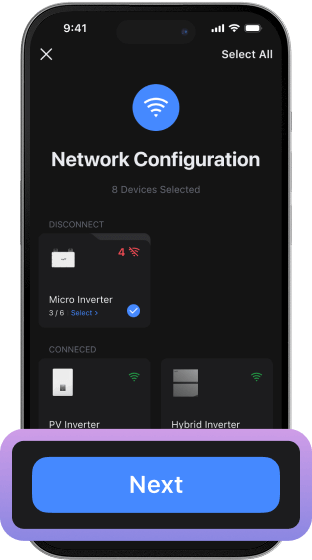
Step-4 :
Select the device (s) that you want to connect to the network and click "Next".
Select the device (s) that you want to connect to the network and click "Next".
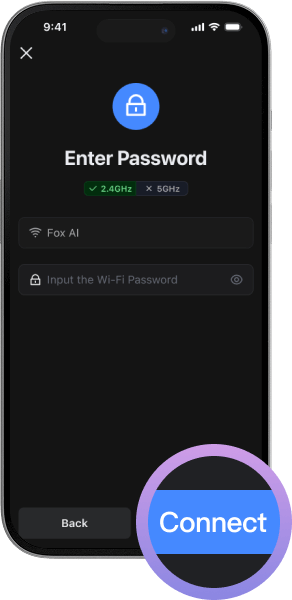
Step-5 :
Select Wi-Fi, enter password and click "Connect".
Select Wi-Fi, enter password and click "Connect".
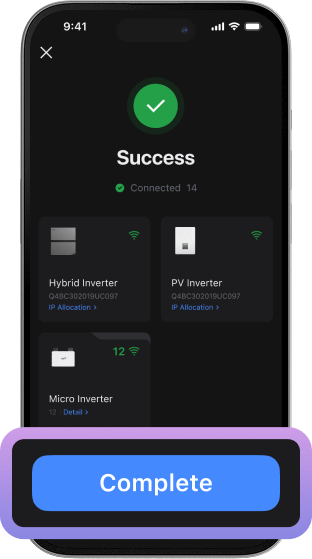
Add devices successfully
Add a Smart Meter for Balcony Battery
Step-1 :
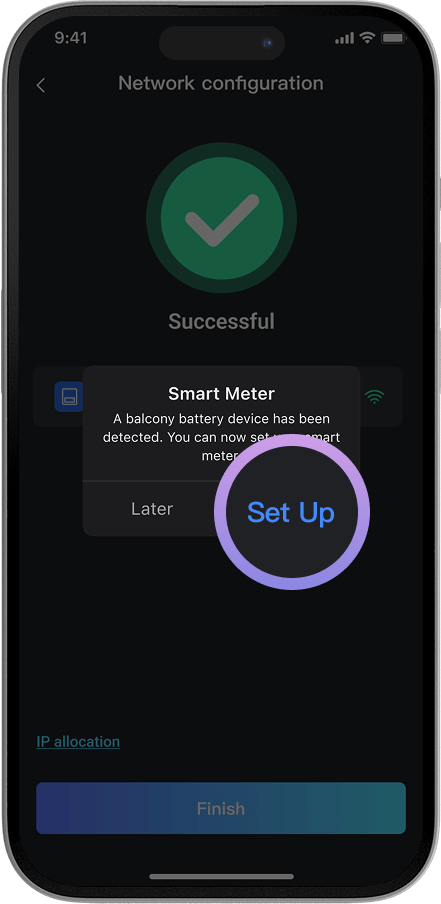
Click "Set up" to begin pairing a smart meter with the
balcony battery.
Step-2 :
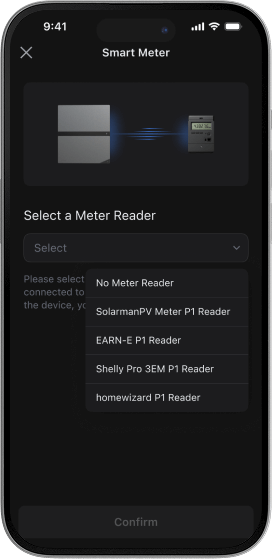
Select a meter brand and click "Confirm".
Select a meter brand and click "Confirm".
Step-3 :
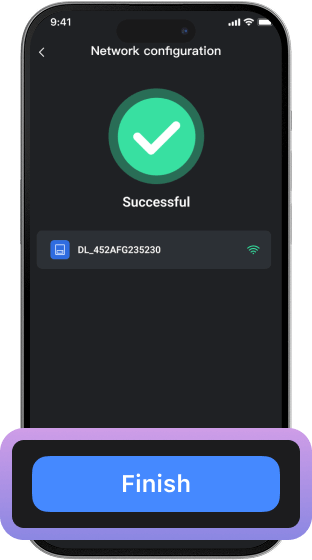
Add the smart meter successfully and click "Finish".
Add the smart meter successfully and click "Finish".